Bank Register & Reconciliation
Bank Register
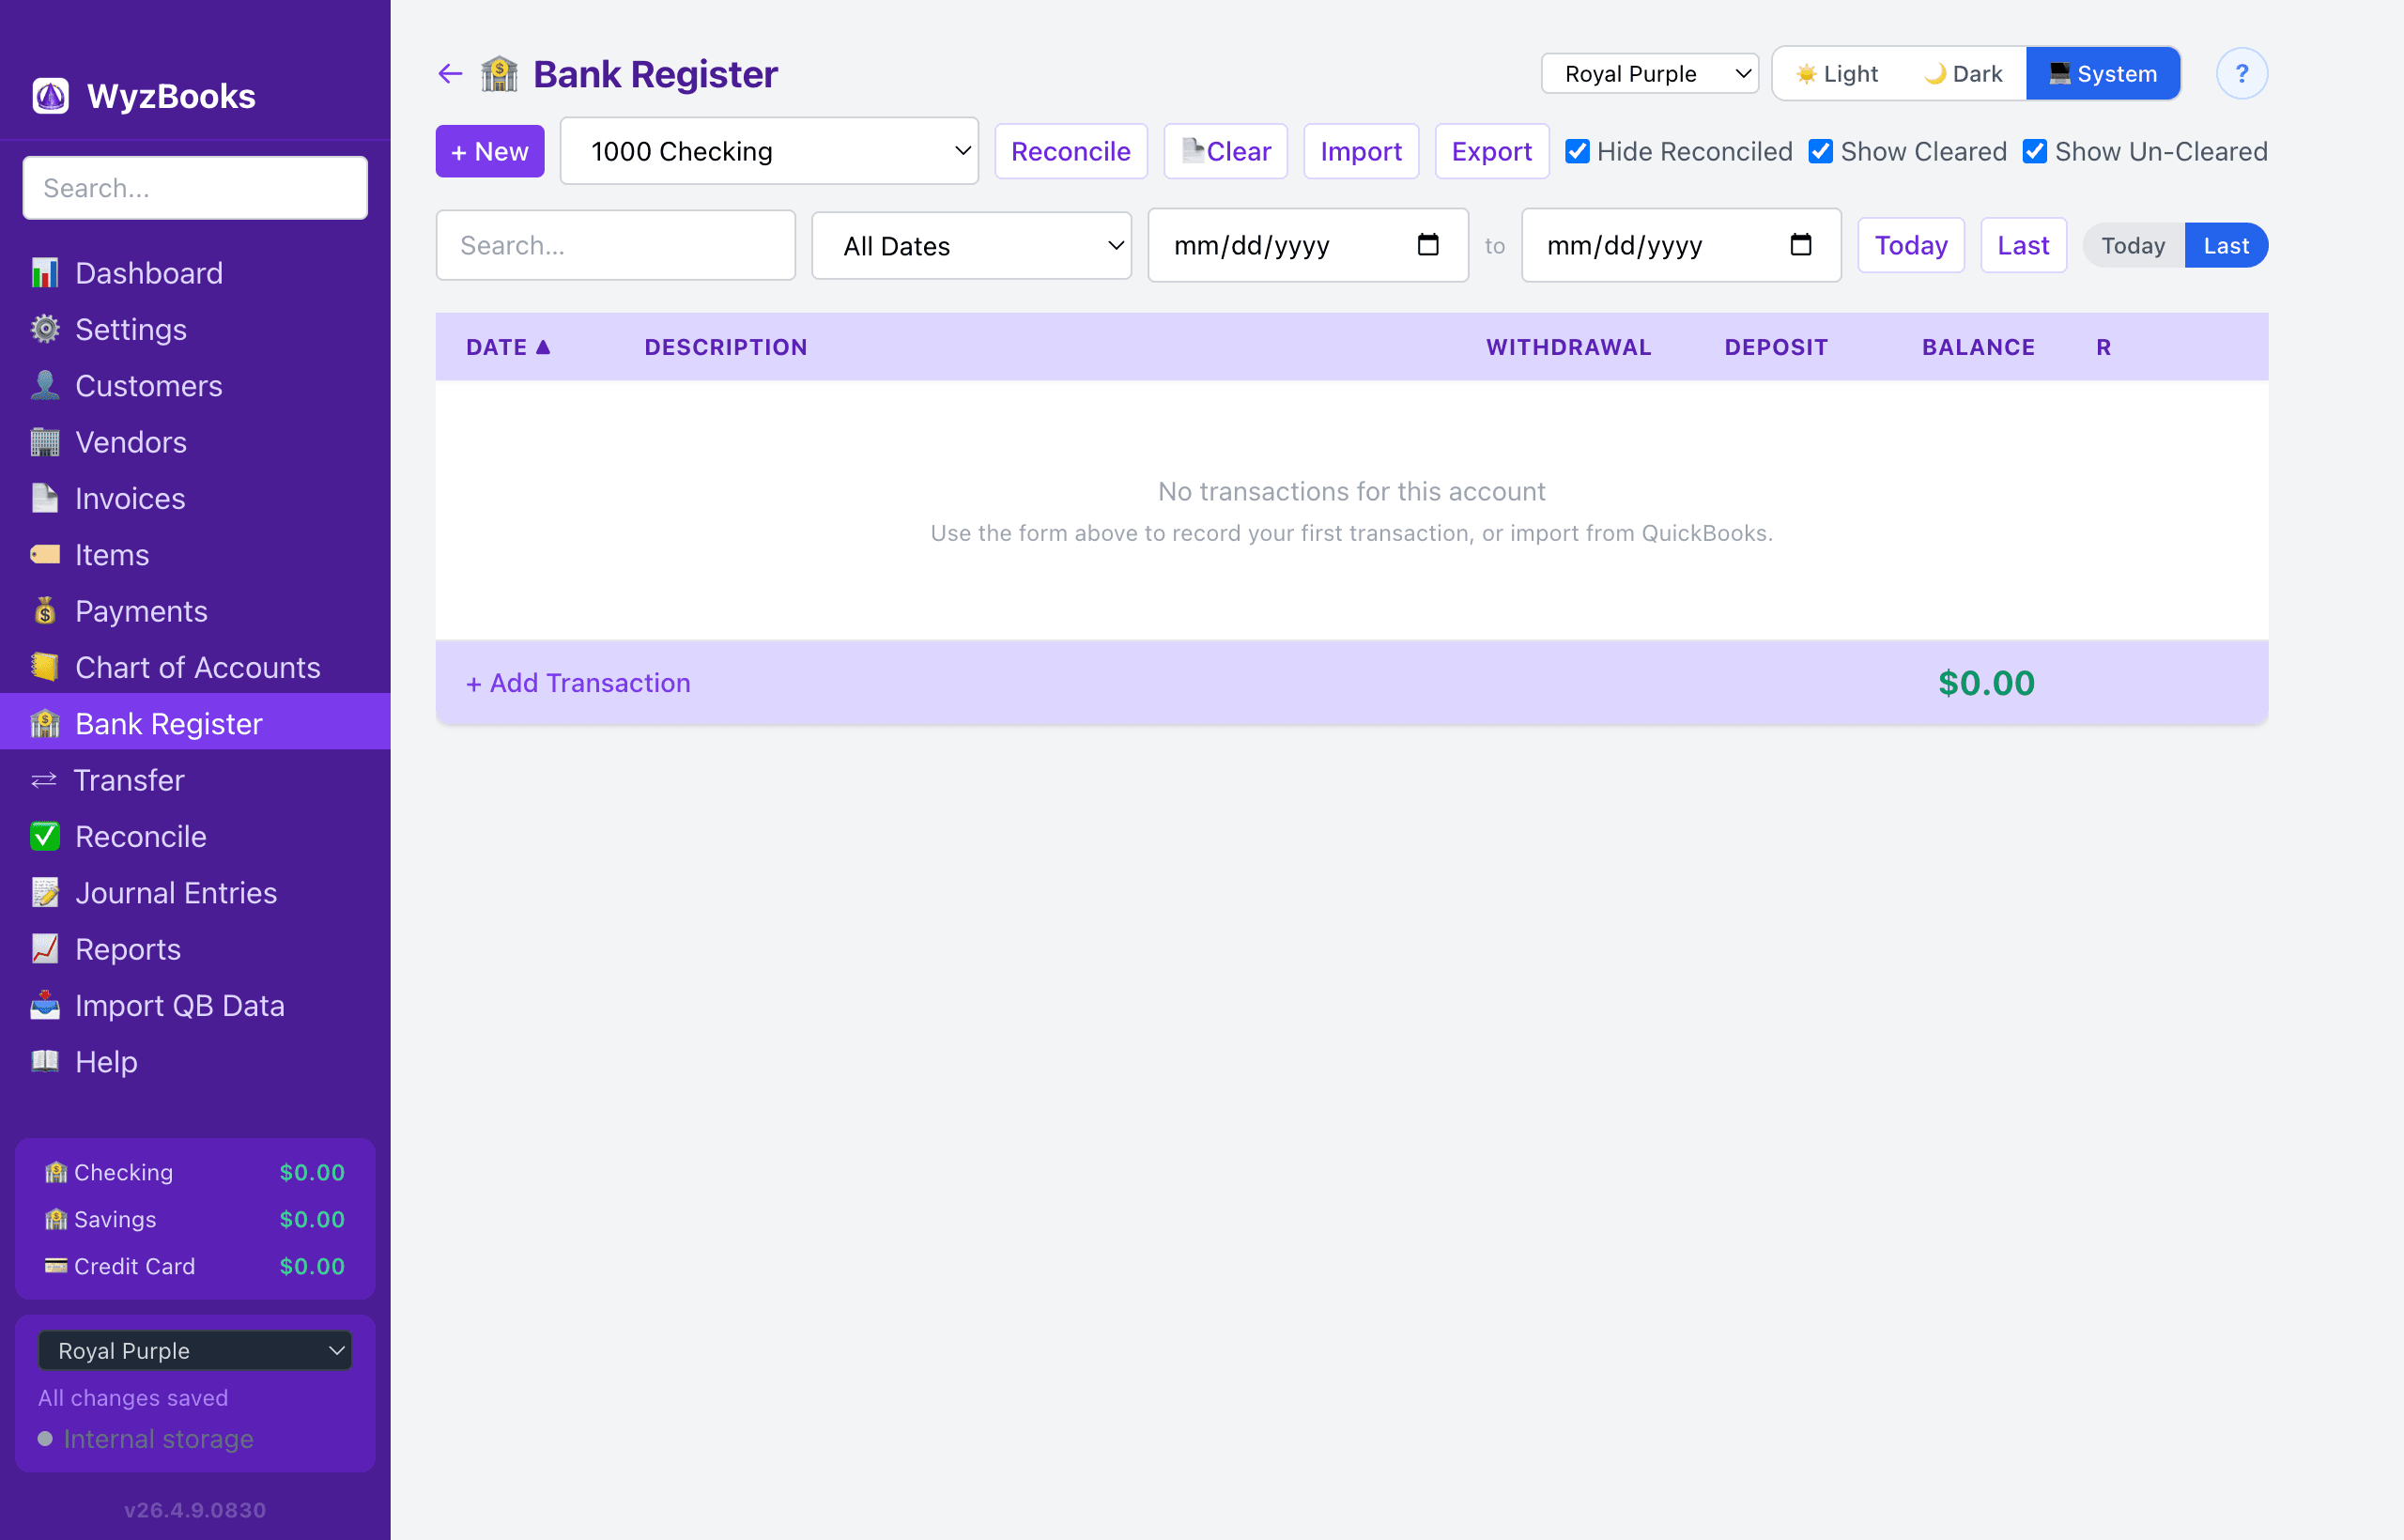
The Bank Register provides a checkbook-style view of transactions for bank and credit card accounts. Select an account from the dropdown at the top. You can also reach the Bank Register by clicking a bank or credit card account in the Chart of Accounts.
- Toolbar Row 1 (actions + filters): + New, Account picker, Reconcile, 📄Clear (CSV match-and-clear), Import (add new transactions from CSV), Export (CSV or Excel — click for a small format-picker popup), and three persisted visibility checkboxes: Hide Reconciled, Show Cleared, and Show Un-Cleared. Each checkbox is remembered across sessions via prefs.
- Toolbar Row 2 (search + date + scroll): Search field, date range preset dropdown, From/To date pickers, Clear (date), then Today (scroll to today's row), Last (scroll to bottom), and a Today/Last segmented toggle that sets the per-account default scroll position when opening the register.
- Two-Row Entry Layout: Each transaction displays on two rows. Row 1: Date, Description, Deposit, Withdrawal, Balance, R (reconciliation status), and Actions. Row 2: Ref number, Contra Account, and Memo.
- Columns: Date, Description/Memo, Deposit, Withdrawal, Running Balance, and Reconciled status (R column: click to cycle empty → ✓ cleared → ✓✓ reconciled).
- Summary Bars: Above and below the register, summary bars show the current Balance (all-time), plus total Deposits and Withdrawals for the filtered date range, along with a transaction count.
- Visibility Filters: Three checkboxes on Row 1 control which reconciliation states are shown: Hide Reconciled (hide ✓✓ green entries — default on), Show Cleared (show ✓ blue entries — default on), and Show Un-Cleared (show entries with no R marker — default on). All three persist independently to prefs (
bankRegHideReconciled,bankRegShowCleared,bankRegShowUncleared). - Adding Transactions: Click + New on Row 1 to open a form above the table, or click + Add Transaction below the table to open a form there. Both forms have the same fields: Payee/Description, Category (expense/income account) or Transfer To (bank account), Date, Type (Expense, Deposit, or Transfer), Amount, Ref #, and Memo. The payee and category fields use autocomplete dropdowns — the payee dropdown shows entries from the last 12 months only. Tab order is optimized for fast entry: Payee → Amount → Memo → Save → Cancel, then the remaining fields.
- Inline Auto-Completion: All autocomplete fields throughout the app auto-complete inline. The moment what you've typed is a unique prefix of one option, the rest of the option is appended into the field as highlighted text. Press Tab to accept (which also fires the parent's onSelect side effects, e.g. payee → category pre-fill); keep typing to overwrite; press Backspace to remove the highlight; press Escape to revert to what you typed.
- Inline Editing: Click any existing row in the table to expand an inline edit form within that row. Edit the fields and click Save, or Cancel to discard changes. Delete is also available from the inline form.
- Date Range: Defaults to the 1st of the previous month through open-ended (no end date). Use the date range preset dropdown (This Month, Last Month, This Quarter, Last Quarter, This Year to Date, This Year, This & Next Year, Last Year, Last 12 Months, All Dates) or set custom dates with the From/To date pickers.
- Sort: Default is ascending (newest transactions at the bottom). Click the Date header to toggle.
- Today / Last Buttons: Scroll the table to today's row or the bottom. The adjacent Today/Last segmented toggle sets the per-account default scroll position when opening the register.
- Sticky Headers: Table column headers stay pinned at the top as you scroll through transactions.
- Payee Pre-fill: When you select a payee from the autocomplete dropdown (or accept an inline auto-completion), the category/contra account and amount are automatically pre-filled from the most recent transaction matching that payee and the current account. Amount pre-fills only in the top add form. The bottom add form and inline edit pre-fill the category but not the amount.
- Duplicate: A copy button on each row and "Duplicate" in the right-click context menu creates a copy of the transaction with today's date and a blank reference.
- Today Marker: A visual "Today" separator row marks where today's date falls in the chronologically sorted list.
- Export: Click the Export button on Row 1 — a small popup menu lets you pick CSV or Excel as the output format. The exported file contains the currently visible (filtered) rows.
- Reconcile Button: Click the Reconcile button on Row 1 to open the Reconcile page with the current account pre-selected.
- Date Shortcuts: In any date field, press T for today, Y for yesterday, = (equals) to advance one day, and - (minus) to go back one day.
- Reconciled Status: The R column shows: empty (uncleared), ✓ in blue (cleared — seen on bank statement), or ✓✓ in green (reconciled — locked in after Finish Reconcile). Click to cycle through states. Cleared transactions are pre-checked on the Reconcile page.
- Import CSV: Click the Import button on Row 1 to import a bank or credit card statement CSV — this is the workflow for adding NEW transactions from a statement. The app auto-detects column layout (both header-based CSVs with Date / Description / Amount or Debit / Credit columns and headerless CSVs are supported). Imported rows are matched against existing entries by absolute amount (within $0.01) using a three-pass algorithm: (1) exact same-day matches, (2) ±14-day window with closest-date and ref-number tie-breakers, (3) unique-amount fallback that matches a CSV row to the only register entry with that amount regardless of date (skipping reconciled candidates so locked historical data doesn't interfere). Sign convention: positive = money in (deposit on bank, payment on CC), negative = money out (withdrawal on bank, charge on CC). A modal shows matched entries (collapsed) and new entries (checkboxes, all checked by default). Uncheck rows you don't want, then click Add Entries. Contra accounts are auto-assigned from your payee history when possible.
- 📄Clear (CSV Clear): Click the 📄Clear button on Row 1 to match a bank statement CSV against the register and bulk-mark matching transactions as cleared (✓ blue) — a pre-reconcile pass that gets all the obvious matches checked off before you ever open Reconcile. Different from Import: CSV Clear primarily MATCHES existing transactions, while Import primarily CREATES new ones. The candidate pool is all entries within the register's date range (visibility filters and search are ignored, and already-cleared/reconciled lines are intentionally INCLUDED so they get categorized as "already cleared" instead of falling through as duplicates). The matching algorithm is identical to Import (same three passes). The preview modal groups results into three sections: Will be marked cleared (uncleared register entries that matched a CSV row — Apply will set them to ✓ cleared), Already cleared, no change (cleared/reconciled entries that matched — informational, no mutation), and Add as new cleared transactions (CSV rows with no match, optional checkboxes to create them as new journal entries pre-marked cleared on creation). Apply commits the cleared flags AND any checked new entries in a single save with one undo entry — Cmd+Z reverts the entire bulk operation.
The register auto-scrolls to the bottom when new transactions are added.
Credit Card Accounts
When you select a credit card account, the register adapts its labels:
- "Charge" instead of Withdrawal (charges increase the CC balance)
- "Payment" instead of Deposit (payments reduce the CC balance)
- "Balance Due" instead of Balance
Summary bars also adapt: they show Balance Due, total Charges, and total Payments for the filtered range.
Reconciliation
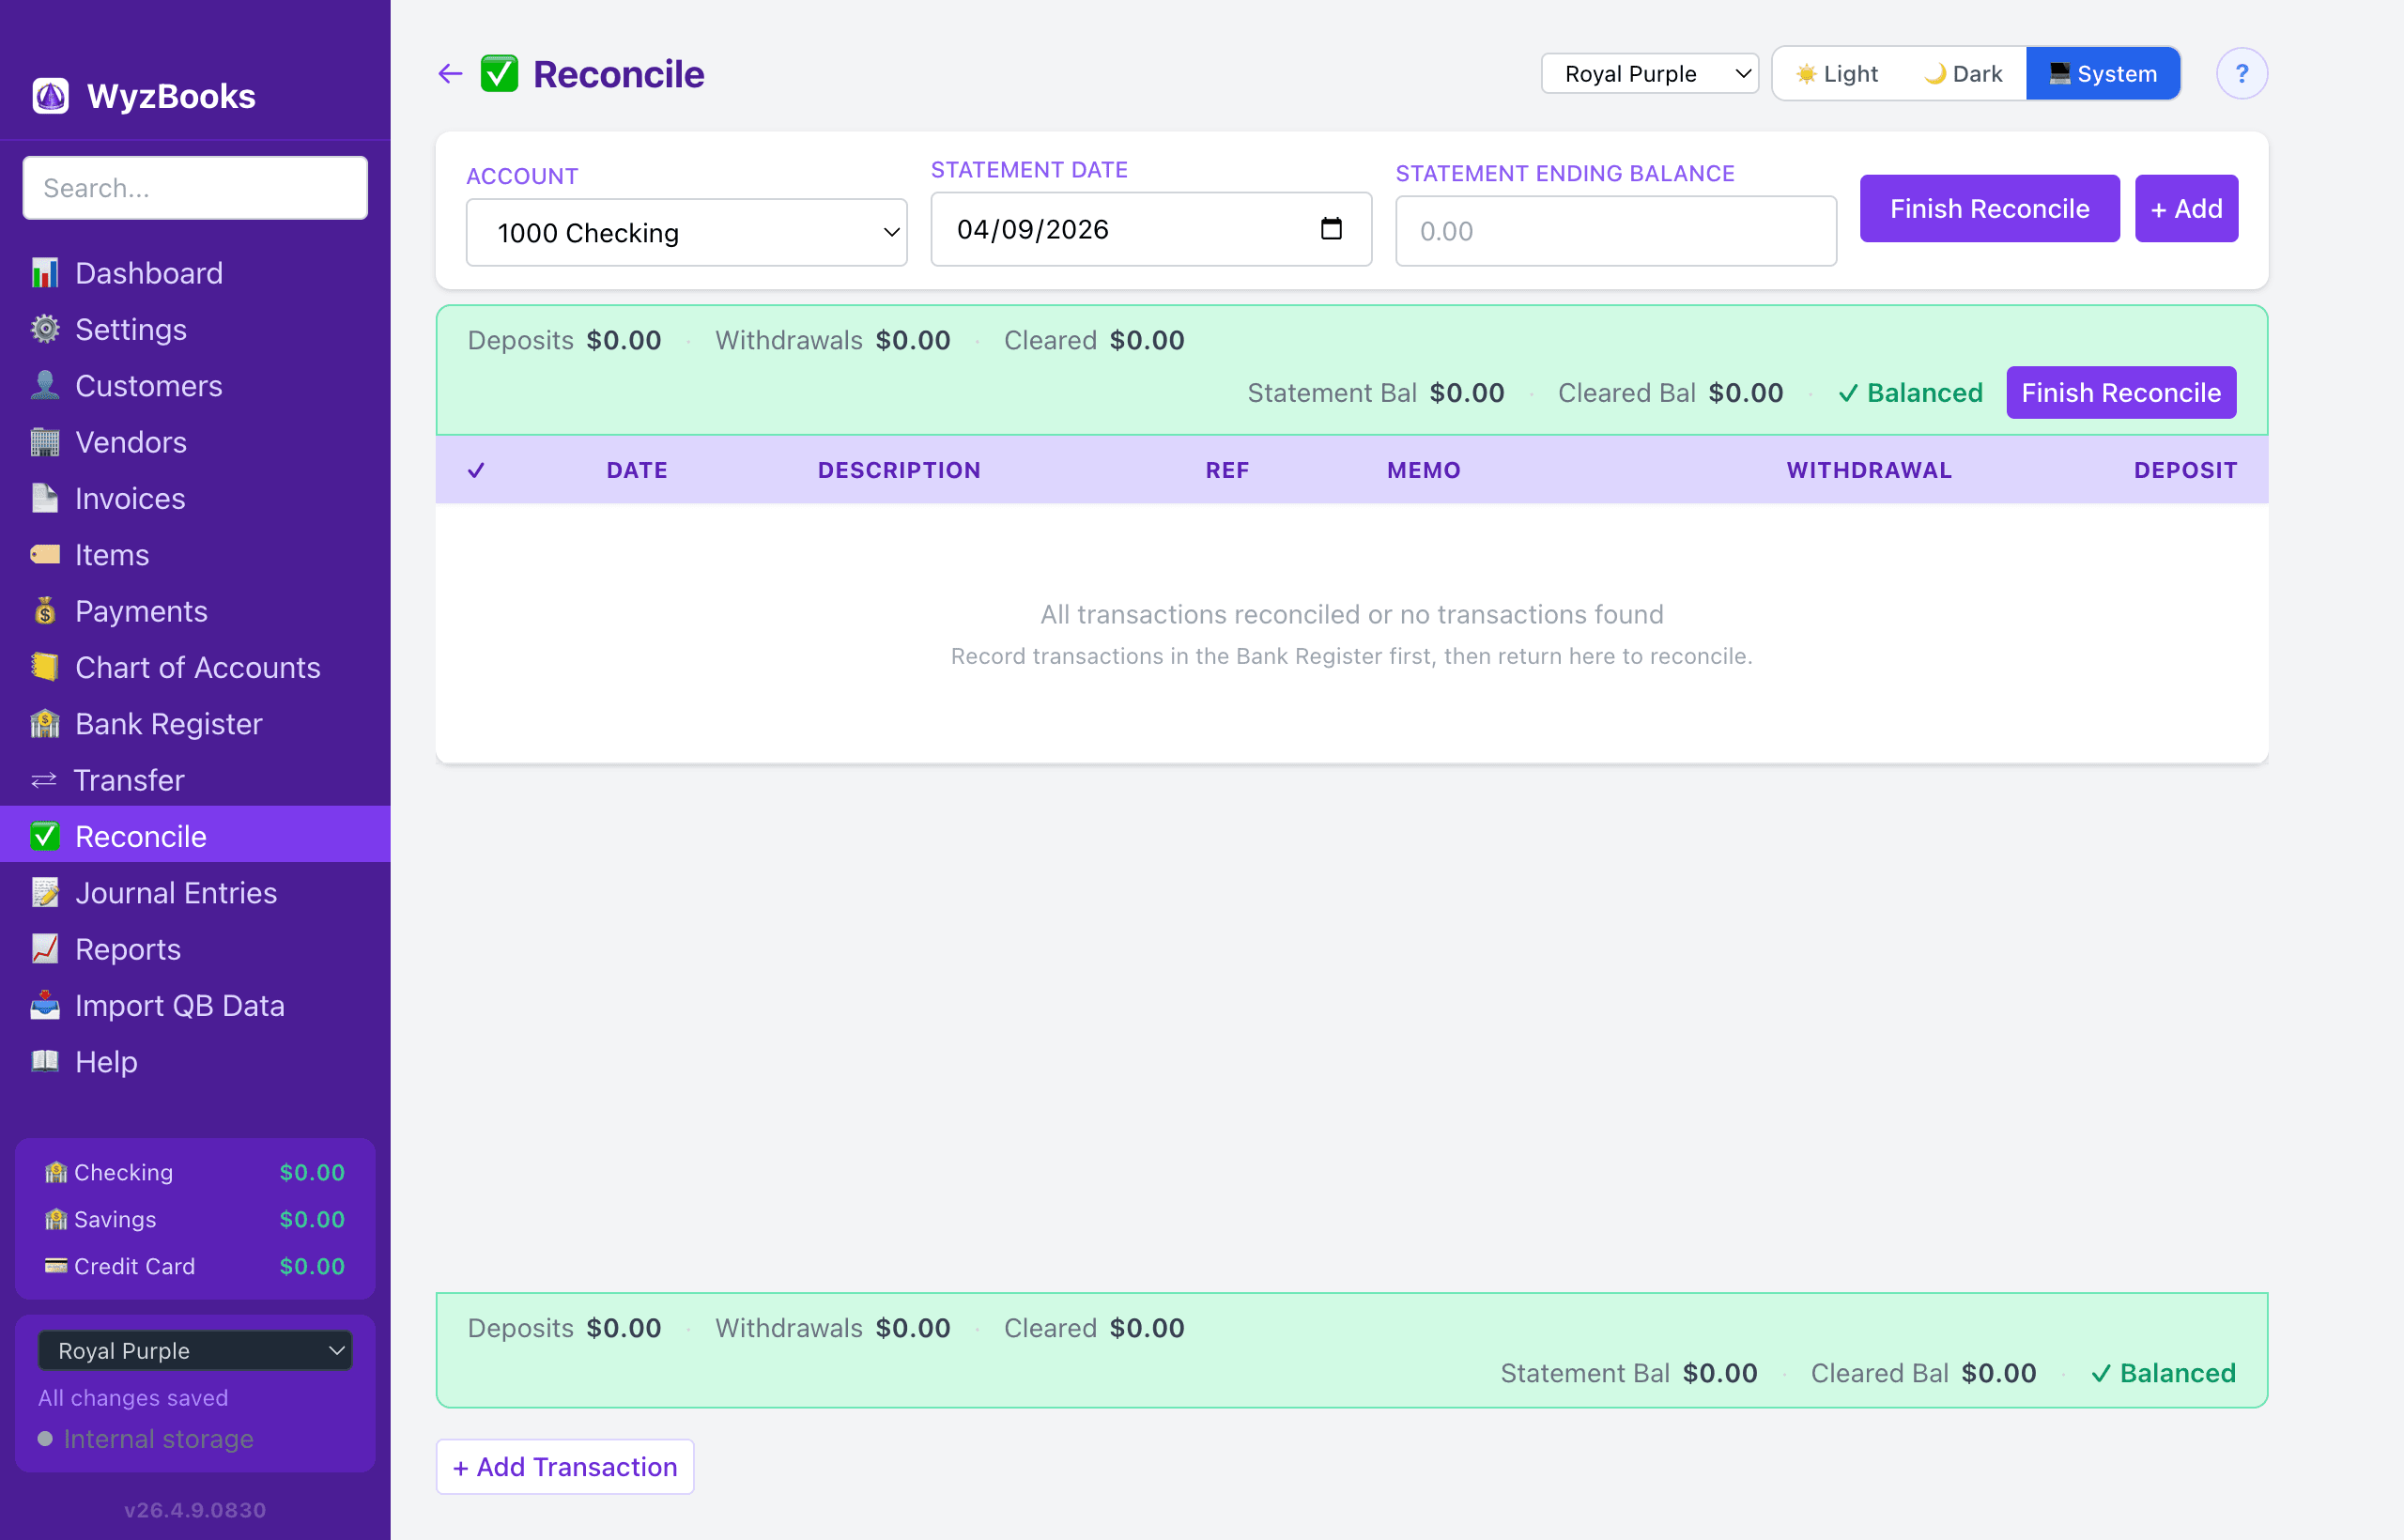
Navigate to Reconcile in the sidebar. The reconciliation process matches your books to your bank statement.
- Select a bank or credit card account from the dropdown.
- Enter your bank statement ending balance and statement date.
- Check off each transaction that appears on your bank statement. Use the toolbar buttons: Select Current (checks entries up to the statement date), Select All, Unselect All, or Import CSV. You can also click and drag across multiple rows to check or uncheck them in one motion.
- The summary bar shows two rows: deposits, withdrawals, and cleared count on the first row; statement balance, cleared balance, and difference on the second row. When the difference reaches $0.00, the summary bar turns green and shows ✓ Balanced with a Finish Reconcile button.
- Click Finish Reconcile (in the header card or the summary bar) to mark all checked transactions as reconciled (✓✓). The app navigates to the Bank Register for the reconciled account with a success toast.
- Add During Reconciliation: Click "+ Add" to open an inline form and record a missing transaction without leaving the reconcile page. The new transaction is automatically marked as cleared and included in the reconciliation.
- Import CSV: Click Import CSV to load a bank statement CSV and auto-check transactions that match by amount and date proximity.
Reconciliation Status
WyzBooks uses a three-state reconciliation system:
- Empty — Uncleared. The transaction has not been matched to a bank statement.
- ✓ Cleared (blue) — Seen on the bank statement. Click the R column in either register to mark a transaction as cleared.
- ✓✓ Reconciled (green) — Locked in after completing Finish Reconcile.
Cleared transactions appear on the Reconcile page and are pre-checked. Reconciled transactions are permanently marked and excluded from future reconciliation sessions. Both the Bank Register and Account Register R columns are clickable to cycle through states.
During QuickBooks imports, the CSV's Clr column (√ = reconciled) is preserved, so previously reconciled transactions carry over automatically.
Sidebar Balances Panel
Bank and credit card accounts can be displayed in the left sidebar with live balances. Configure the position (top, middle, or bottom of the sidebar) in Settings > General > Sidebar Balances.
The panel uses an offset background (controlled by the Panel Background key in the Left Sidebar theme) for visual separation. Clicking an account name navigates directly to that account's register tab — if a register for that account is already open, it switches to the existing tab instead of opening a duplicate.